
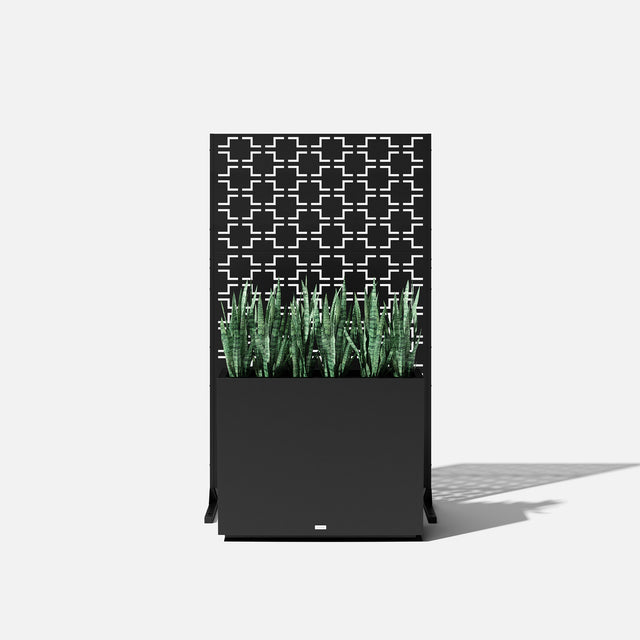
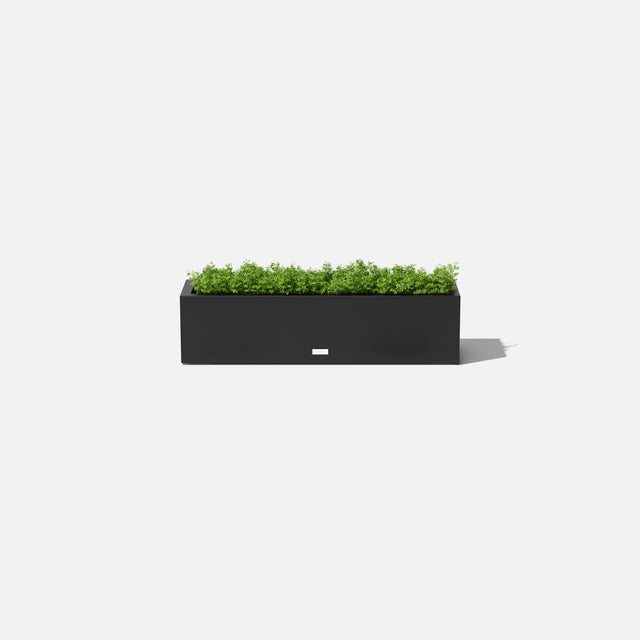
diy edible plant arrangement
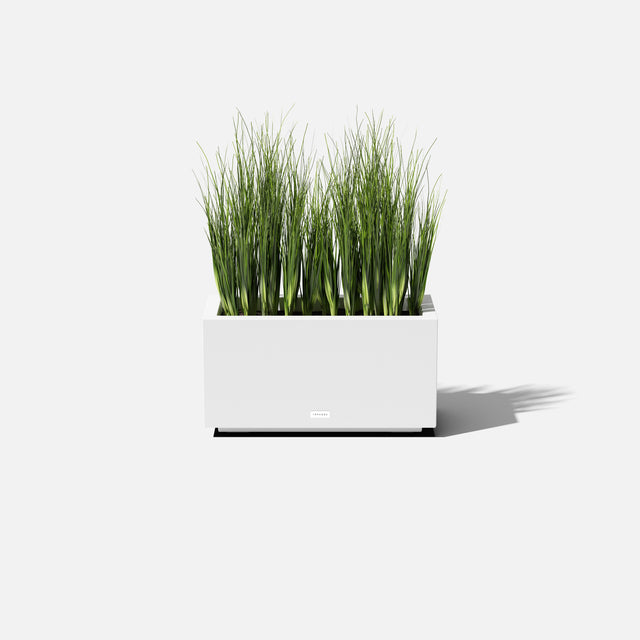
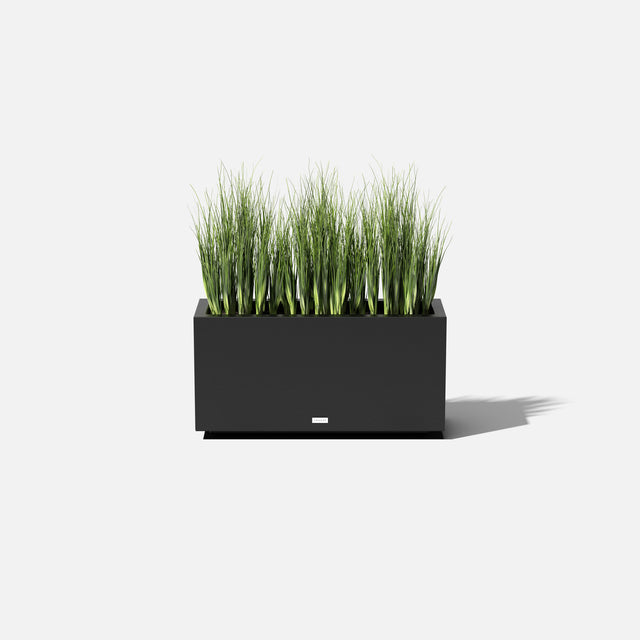
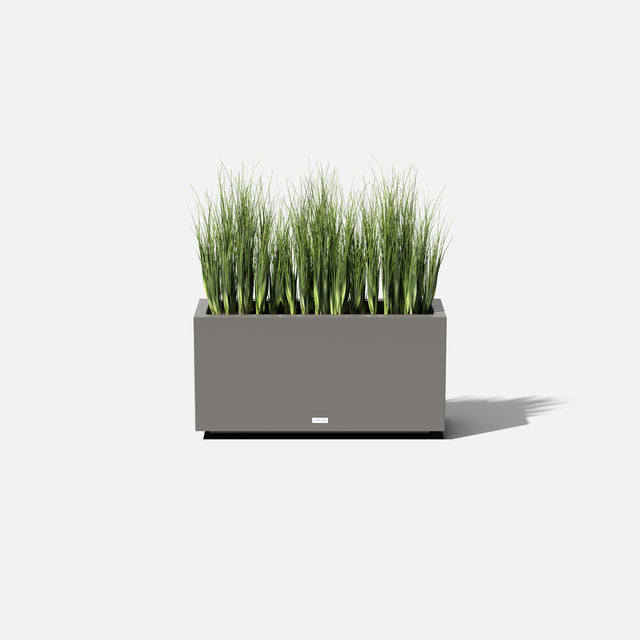
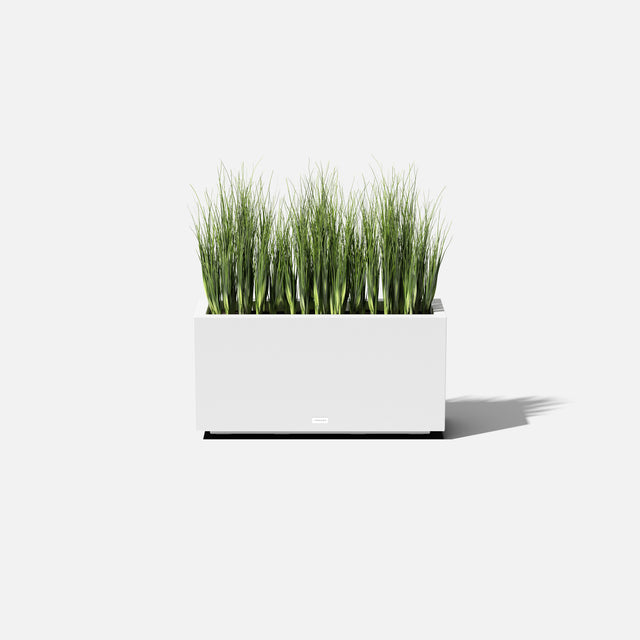
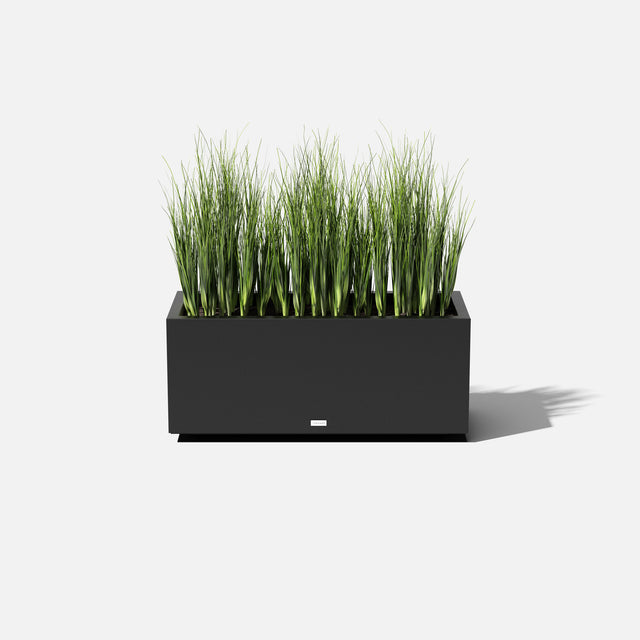
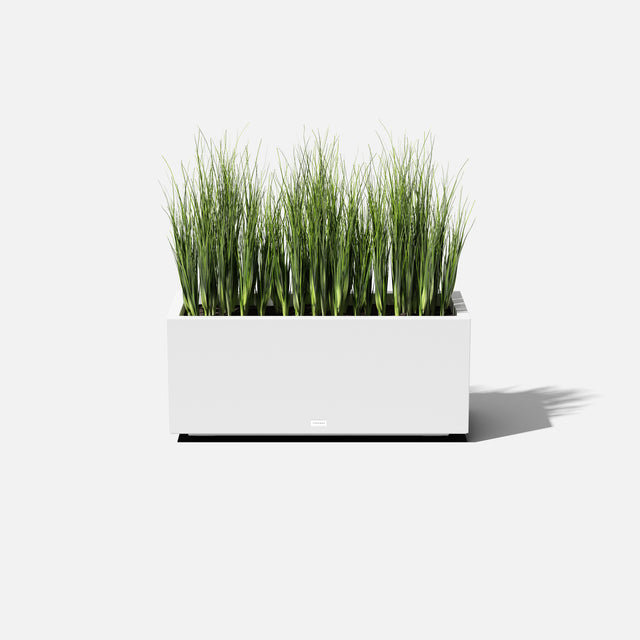
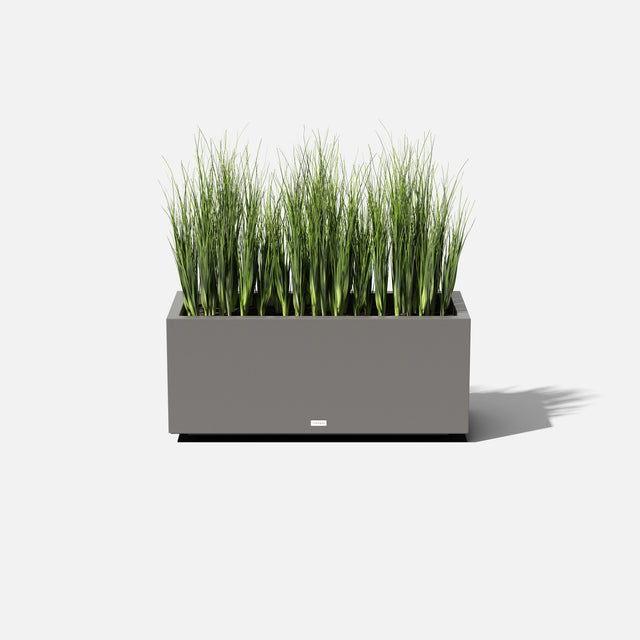
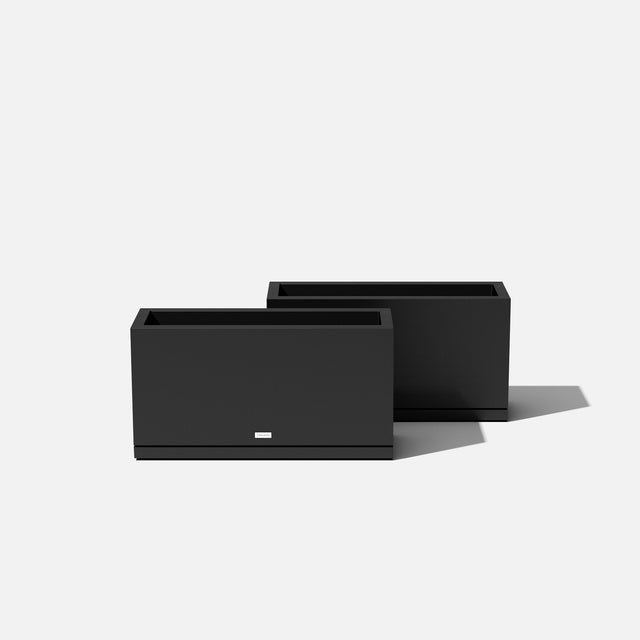
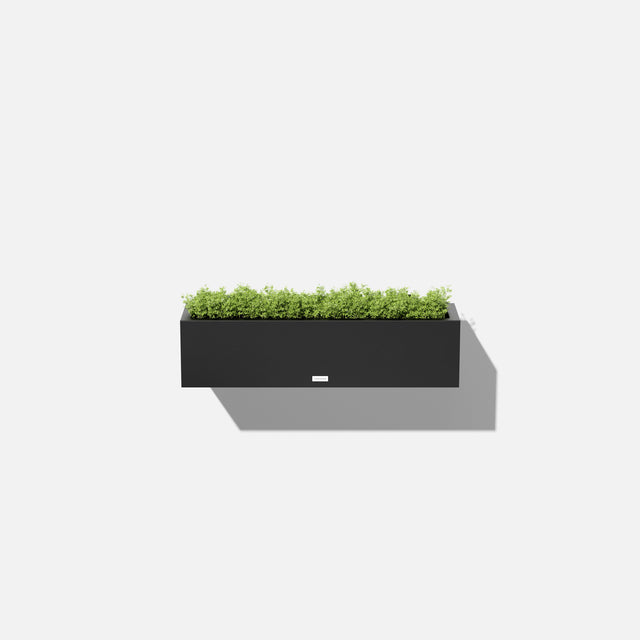
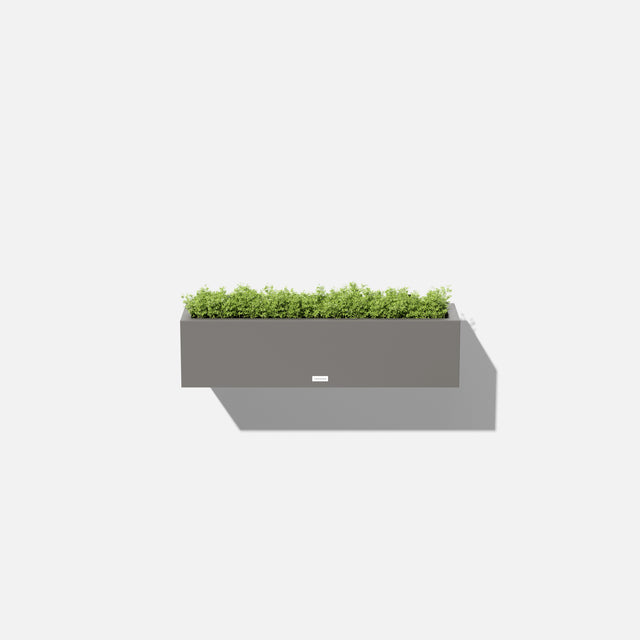
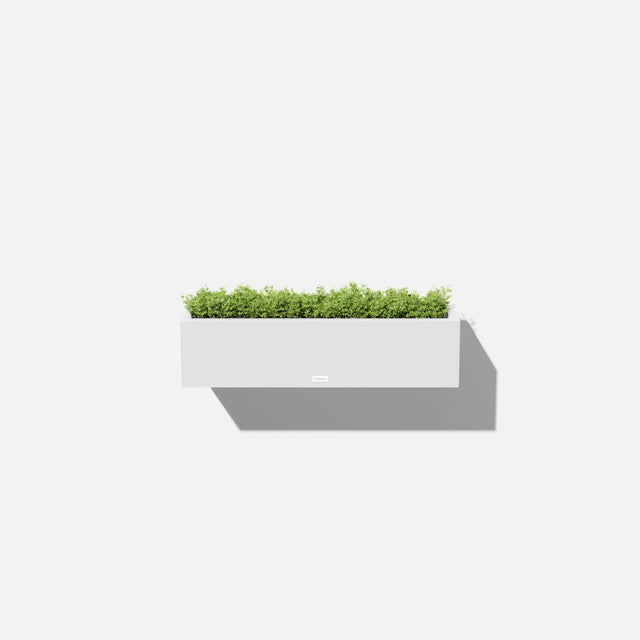
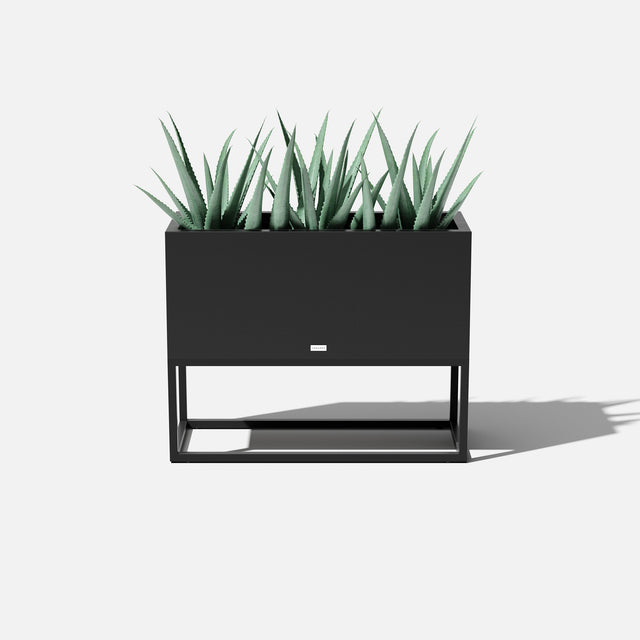
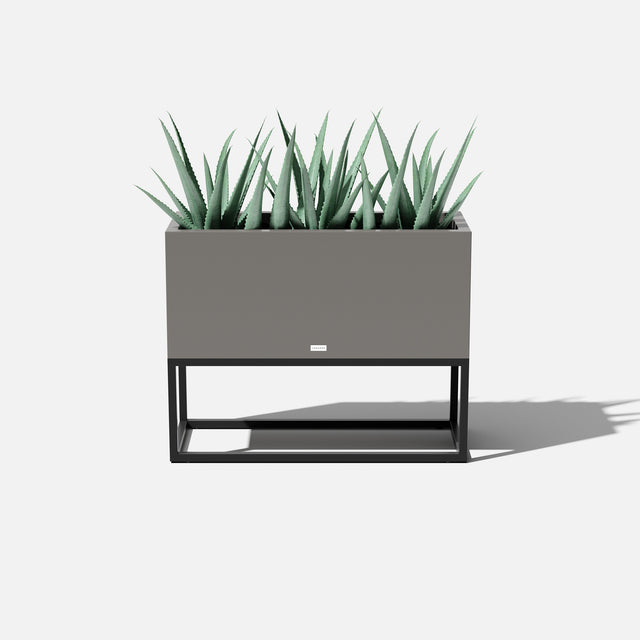
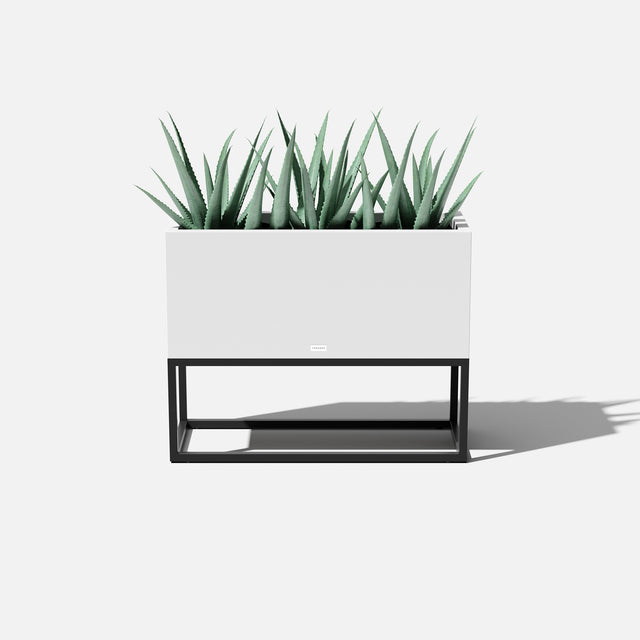
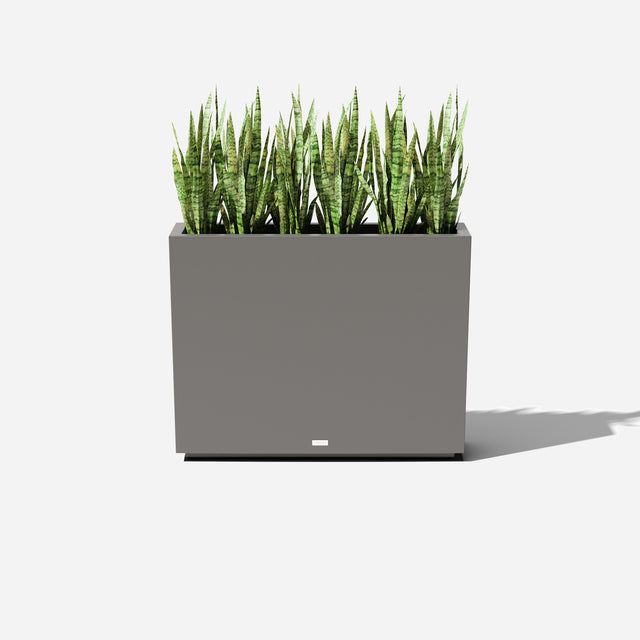
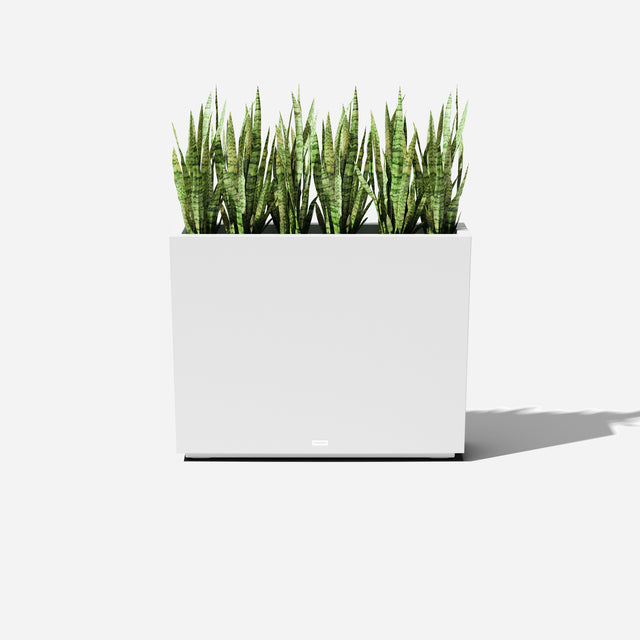
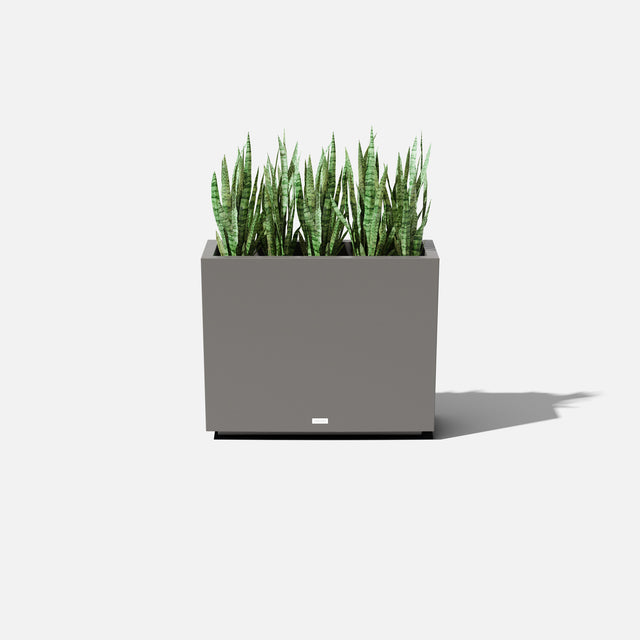
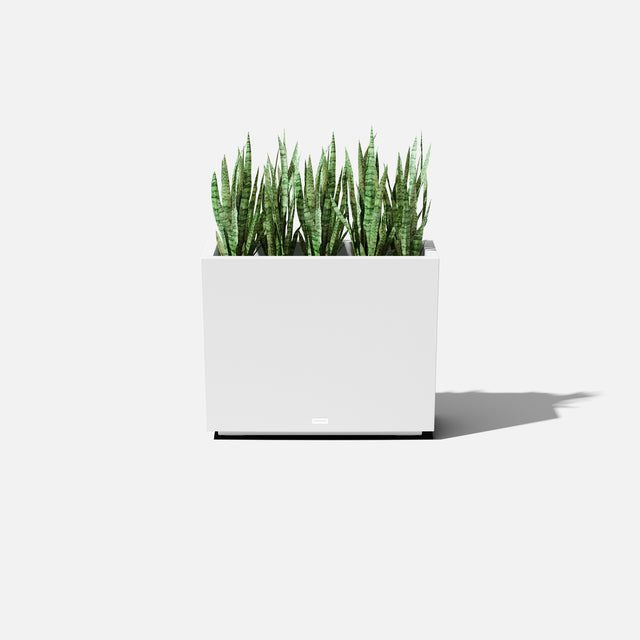
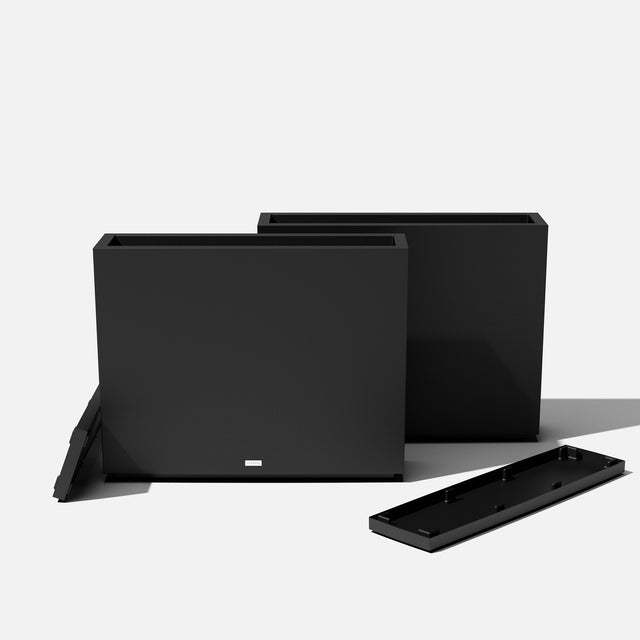
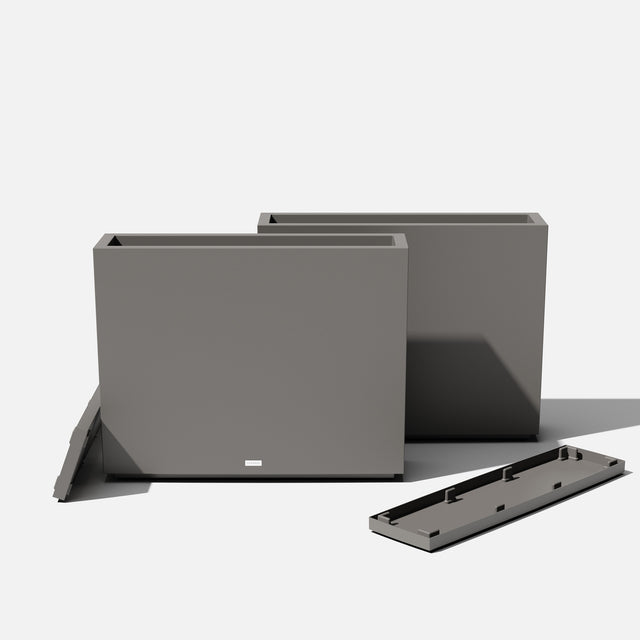
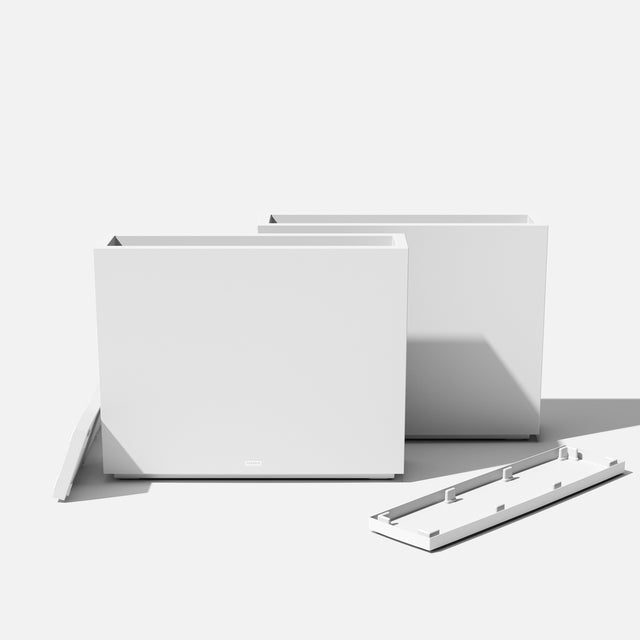
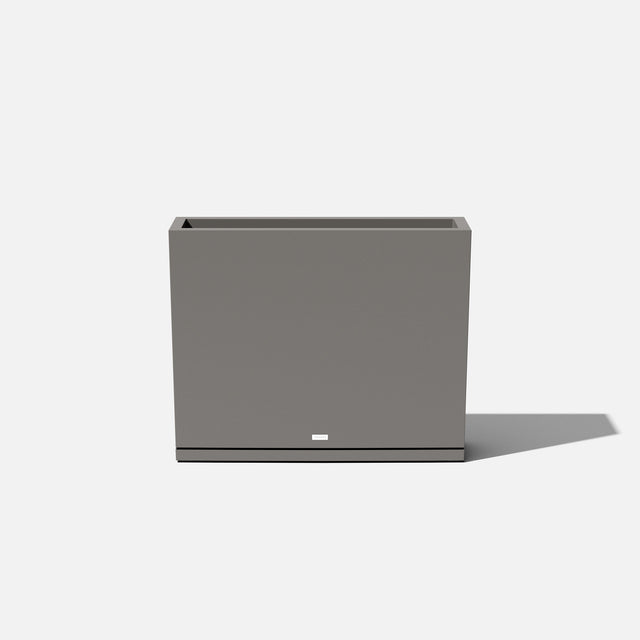
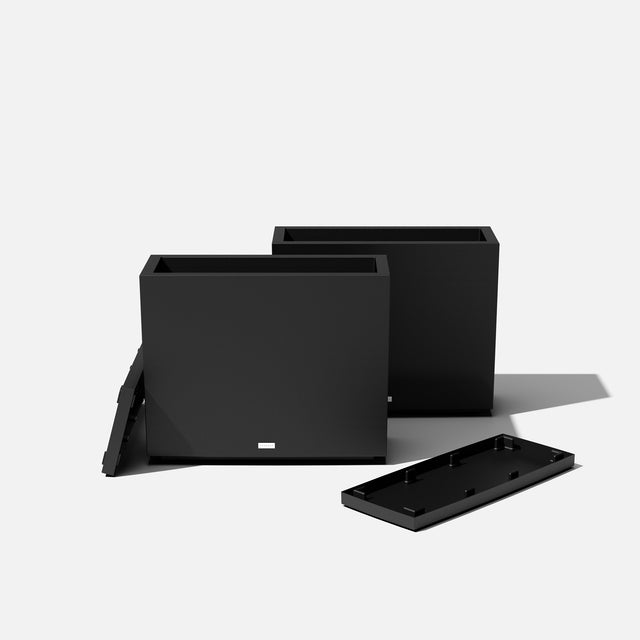
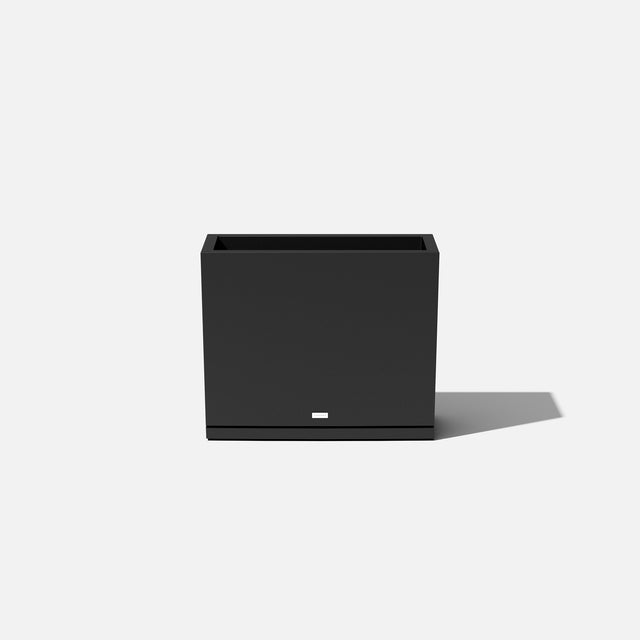
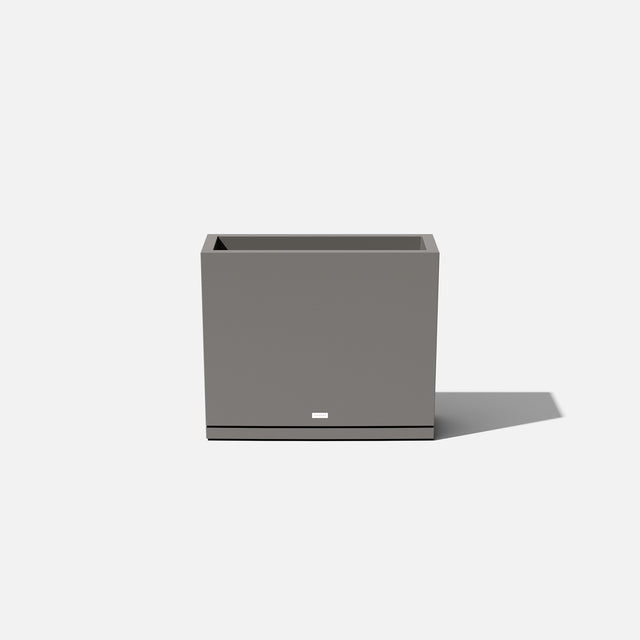
Featuring our functional and beautiful Block Long Box Planter


Sometimes the right planter can completely revamp your space, and honestly, I'm all you need. Whether you're looking to define an intimate corner or make an entryway pop, I'll bring the sophistication and the charm.

pest-free potting
worm castings
sea kelp meal

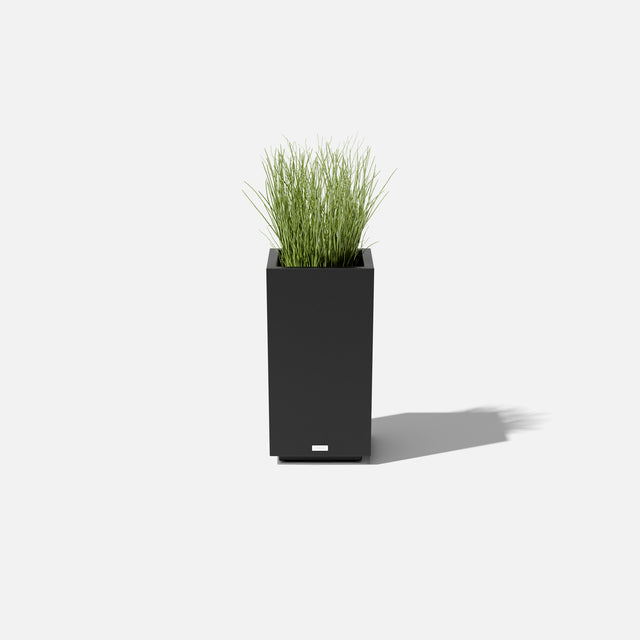
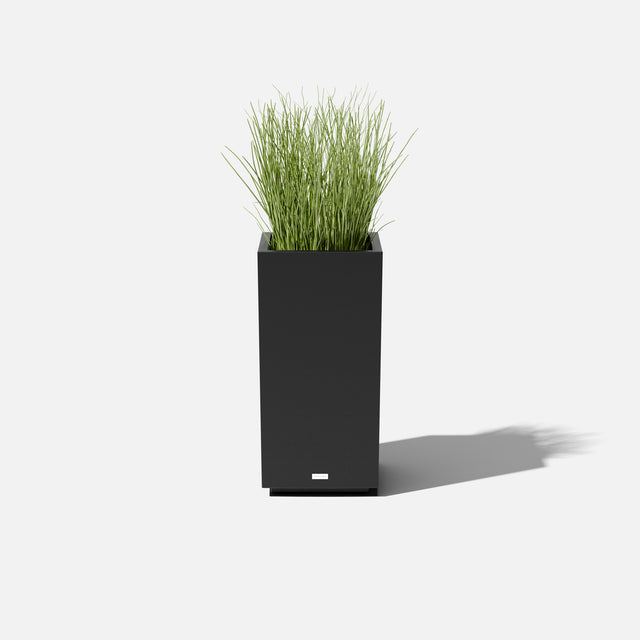
red currant bush
strawberry
anise hyssop
dahlia pinnata
viola labradorica
bronze fennel
leading lady raspberry

Tell us about this
first arrangement?
Well, first off, we have an edible arrangement, meaning you can eat all of these beautiful plants. They can all be used in various recipes. The red currants and strawberries are great to make jam with. The flowers of the other plants can be dried and used as tea, or added to cocktails and desserts, etc. The leaves are also edible and can be added to salads.

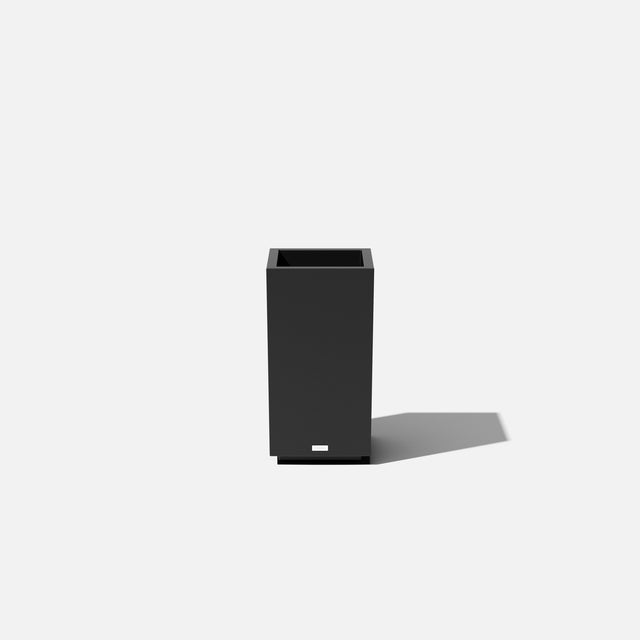
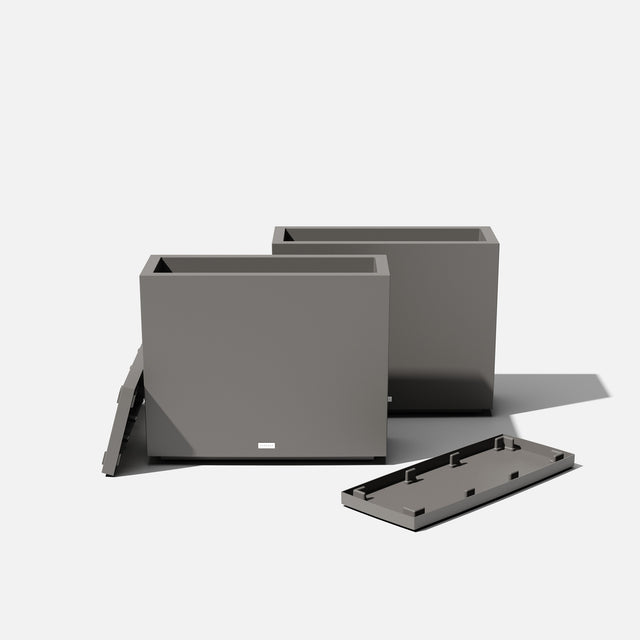
You chose the block series long box planter for your arrangement. Why?
This question is so important and often overlooked. The Block Series Long Box Planter is wonderful choice for planting because it is so deep. A lot of containers that you purchase will have a false bottom, you'll only really get about 12 inches of planting room. What I love about this one is that it has full depth, you can plant perennials in it and they will actually come back the next year.

step 1:
I like to add a high-quality, pest-free potting mix to the planter first. I’ll also add in some amendments — my favourites are worm castings and sea kelp meal. Both are slow-release natural fertilizers that won’t burn your plants and will feed the beneficial soil microorganisms. Focus on soil health, and you will have happy and healthy plants that are better equipped to fend off pest attacks.

step 2:
Once you’re ready to put your new plant into its new home, take it out of the black nursery pot it came in and gently tease open the roots wrapped around the bottom of the pot — also known as the feeder roots. You can use a sharp tool or your fingers; just be mindful not to cut too far into the centre of the root ball, as that’s considered the heart of the plant. Use the soil the plant came with when replanting.

step 3:
When placing the plants in your pot, look for the best side of the plant — that’s considered the “face” — and make sure it is facing the side of the planter that will be on display. This side will be the fullest. Once you have found the face, place it at the front of the planter.
The rest of the space will fill out in no time. Take your time — it’s always beneficial to play around and see what things will look like once fully planted.

step 4:
Once you’ve potted up your plant, water everything in it and top it off with a top dress. This can be mulch, stone, moss, or anything you consider beautiful. The top dress helps keep the roots cool and prevents the soil from drying out prematurely.


Copyright © 2026 Veradek CA